Introduction
“Light makes photography. Embrace light. Admire it. Love it. But above all, know light. Know it for all you are worth, and you will know the key to photography.” — George Eastman
Every experienced landscape photographer will tell you the same thing: the single most important element in any photograph is light. Not the camera, not the lens, not the location—light.
Yet most photography education treats light as a given, something you react to rather than seek out. Professional landscape photographers do the opposite. They study light obsessively, predict it using specialized tools, and position themselves to capture those fleeting moments when ordinary scenes become extraordinary.
The 6 Types of Natural Light
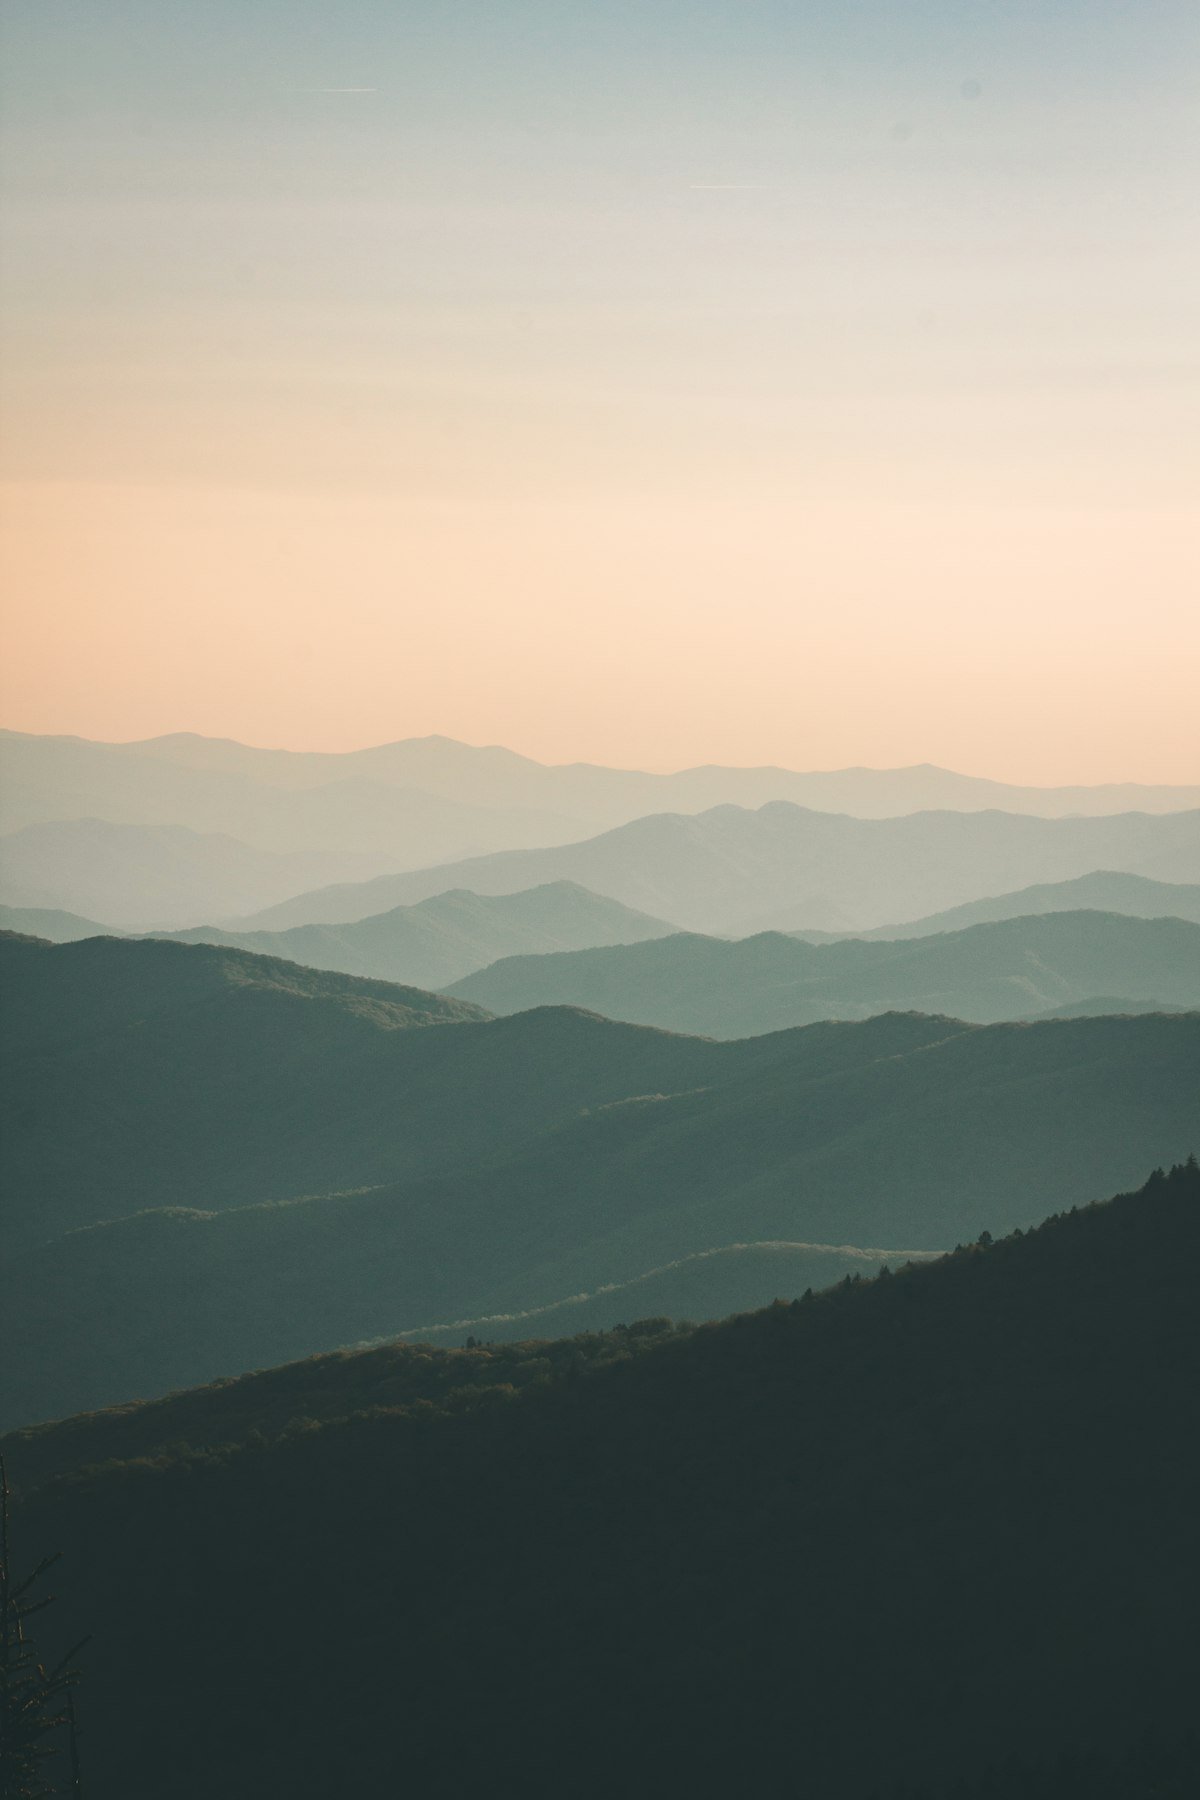
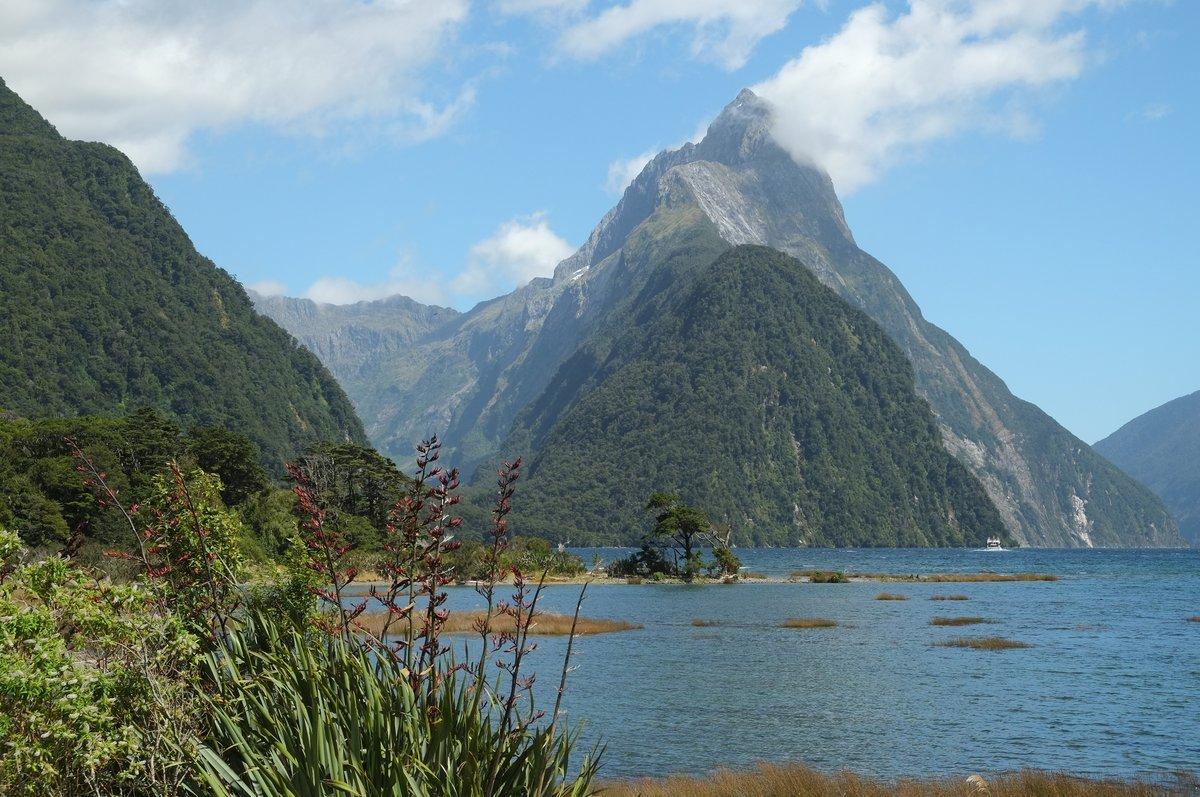
Golden hour sidelight reveals texture in mountain ridgelines that flat midday light flattens into a postcard
1. Golden Hour Light
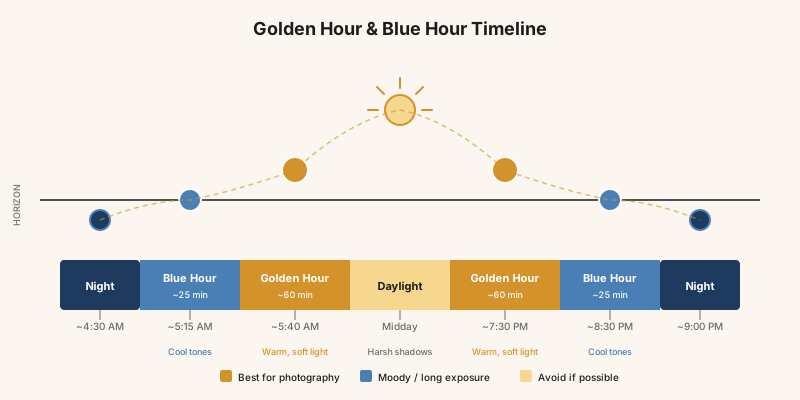
When: 20-40 minutes after sunrise / before sunset
Character: Warm, directional, long shadows, saturated colors
Color temperature: 2500-3500K
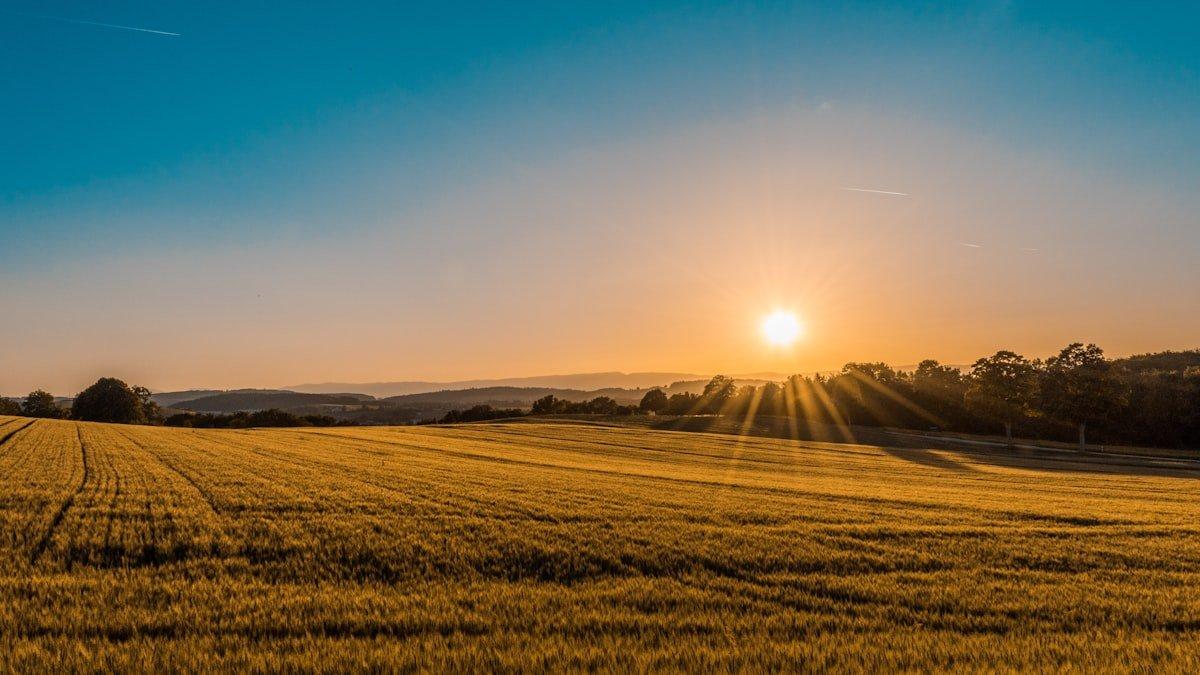
Golden hour is the most celebrated light in landscape photography, and for good reason. The sun’s low angle creates long shadows that reveal texture and dimension. The warm color temperature saturates oranges, reds, and yellows while softening blues.
What makes it special for landscapes:
- Side-lighting on mountains reveals ridges and valleys
- Warm tones create emotional warmth in images
- Long shadows add depth to flat terrain
- Atmospheric haze creates layered depth
The professional’s approach: Arrive 45 minutes before the golden window opens. Use this time to scout compositions, set up tripods, and test frames. Golden hour is too short to spend searching for angles.
2. Blue Hour Light
When: 20-40 minutes before sunrise / after sunset
Character: Cool, even, subtle, mysterious
Color temperature: 9000-12000K
Blue hour is often overlooked by beginners who pack up when the sun dips below the horizon. Professionals know some of the most compelling landscape light occurs in this window.
What makes it special:
- Even illumination eliminates harsh shadows
- Cool tones create mood and atmosphere
- Artificial lights begin to glow, creating warm-cool contrast
- Water and sky take on deep blue saturation
Technical considerations: Blue hour requires longer exposures. A tripod becomes essential. ISO may need to increase. This is prime time for long exposure techniques with ND filters.
3. Storm Light
When: Before, during, or immediately after storms
Character: Dramatic, high-contrast, unpredictable, electric
Storm light is the holy grail of landscape photography. When a break in storm clouds allows sunlight to illuminate a landscape while dark clouds provide the backdrop, the result is an image with depth, drama, and emotion that clear-sky shooting cannot match.
Why it’s worth the risk:
- The most dramatic light you will ever photograph
- Light beams (crepuscular rays) piercing through clouds
- Rainbows appearing against dark backdrops
- Extreme contrast between illuminated and shadowed areas
Reading storm patterns: Storms arriving from the west (in the Northern Hemisphere) often break along their eastern edge. Position yourself east of the storm’s path during sunset for the highest probability of dramatic light.
4. Diffused Light
When: Overcast days, fog, mist
Character: Soft, even, shadowless, saturated colors
Diffused light is the most underrated light in landscape photography. Beginners avoid overcast days; professionals embrace them for specific subjects.
Best subjects for diffused light:
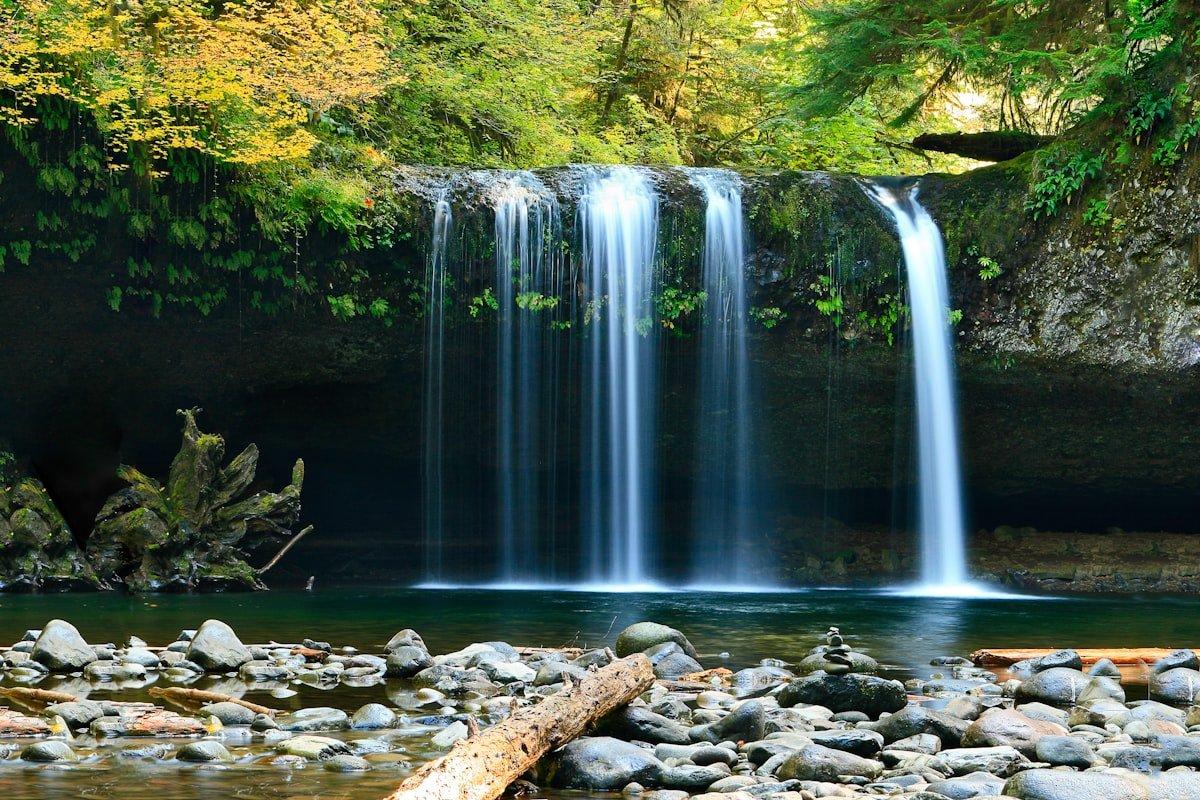
- Waterfalls: No harsh highlights or deep shadows
- Forests: Even light penetrates the canopy
- Intimate landscapes: Close-up details without distracting shadows
- Autumn foliage: Colors appear most saturated under overcast skies
The science: Cloud cover acts as a massive softbox, scattering light evenly across the landscape. This eliminates the dynamic range challenges of direct sunlight.
5. Directional Light
When: Mid-morning to mid-afternoon on clear days
Character: Harsh, high-contrast, defined shadows
Most photographers avoid midday light, and for good reason—it’s unflattering for most subjects. But directional light has specific applications:
- Desert landscapes: Harsh shadows define dune ridges
- Canyon photography: Light beams entering slot canyons
- Aerial/drone photography: Shadows from above define topography
- Snow scenes: Side light reveals snow texture
The overhead myth: Truly harsh overhead light lasts only 1-2 hours around solar noon. Mid-morning and mid-afternoon sun at 30-45 degrees creates workable directional light.
6. Twilight
When: 40-60 minutes before sunrise / after sunset
Character: Dim, pastel, atmospheric
Deep twilight produces pastel skies—pinks, purples, and oranges that transition subtly across the sky. The light level is very low, requiring exposures of 30 seconds to several minutes.
What to shoot during twilight:
- Silhouettes against pastel skies
- Reflections in calm water (the stillest water often occurs at twilight)
- Cityscapes where building lights complement natural sky color
- Star trails beginning to appear
Tools Professionals Use to Predict Light
PhotoPills
The essential sun/moon planning tool. Key features for light prediction:
- Sun position overlay: See exactly where the sun will rise and set relative to your composition
- Golden hour calculator: Precise times for any location on any date
- 3D augmented reality: Hold up your phone and see the sun’s path overlaid on the real landscape
Windy.com
Originally a wind forecasting tool, Windy has become indispensable for landscape photographers:
- Cloud layer visualization: See low, medium, and high cloud predictions separately
- Rain radar: Track approaching weather systems hour by hour
- Satellite imagery overlay: Compare forecast models to current conditions
Clear Outside
Designed for astronomers but invaluable for photographers:
- Transparency forecasts: How clear the atmosphere will be
- Seeing conditions: Atmospheric stability predictions
- Cloud cover timeline: Hour-by-hour cloud percentage
SunCalc
A web-based tool that shows sun position, shadow lengths, and light phases on any map location. Useful for quick planning when PhotoPills isn’t available.
Reading Light in the Field
The Cloud Assessment
Before dawn, step outside and look at the sky:
High, thin clouds (cirrus): Excellent golden hour potential. These clouds catch and scatter warm light beautifully.
Mid-level broken clouds (altocumulus): Storm light potential. Watch for breaks that could create dramatic beams.
Low, thick overcast (stratus): Diffused light day. Plan for waterfalls, forests, or intimate landscapes.
Clear sky: Golden and blue hour will be clean but brief. No clouds means no color explosion at sunset.
The Direction Assessment
Before setting up your composition, identify the sun’s direction and consider:
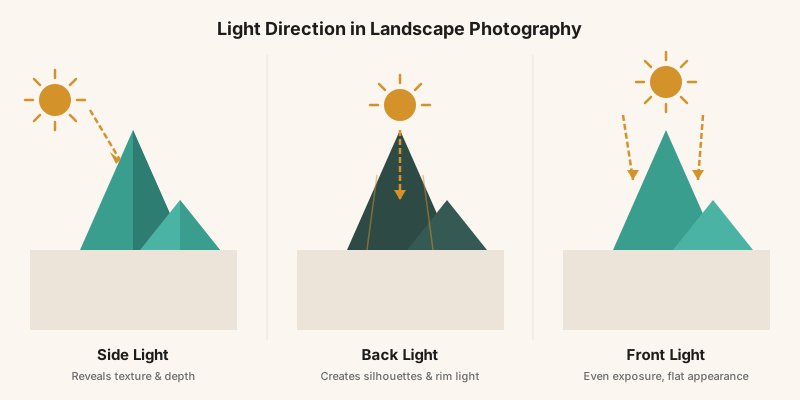
- Front light (sun behind you): Flat, even illumination. Colors pop but depth is minimal.
- Side light (sun at 90 degrees): Maximum texture revelation. Ideal for mountains, dunes, architecture.
- Back light (shooting toward sun): Silhouettes, rim light, lens flare potential. Dramatic but technically challenging.
The Color Temperature Shift
Throughout the day, color temperature shifts dramatically:
| Time of Day | Color Temp (K) | Character |
|---|---|---|
| Deep twilight | 9,000-12,000 | Deep blue |
| Blue hour | 7,000-9,000 | Cool blue |
| Sunrise/sunset | 2,500-3,500 | Warm orange |
| Golden hour | 3,500-4,500 | Warm |
| Overcast | 6,000-7,000 | Neutral-cool |
| Midday clear | 5,200-5,500 | Neutral |
| Open shade | 7,000-8,000 | Cool |
Chasing Light: The Professional Workflow
The Night Before
- Check weather forecasts on multiple apps (they disagree—use the consensus)
- Plan primary and backup locations based on cloud predictions
- Set sunrise/sunset alarms with 60-minute lead time
- Prepare gear and charge batteries
Morning Shoot Sequence
- Arrive 60 minutes before sunrise for twilight and blue hour
- Assess cloud conditions and adjust plan if needed
- Compose and test during blue hour while light is stable
- Shoot actively through golden hour, adjusting exposure constantly
- Stay 30 minutes after golden hour ends—the best light sometimes arrives after you expect it to end
The “Ten More Minutes” Rule
Galen Rowell wrote about the moments of “magic hour” that occur unpredictably around sunrise and sunset. Professional landscape photographers live by a simple rule: always stay ten more minutes than you planned. Some of the most extraordinary light events—sudden cloud breaks, unexpected color explosions, fleeting light beams—occur in these unplanned extensions.
Exercises for Developing Light Awareness
Exercise 1: The Light Journal
For one month, step outside three times daily (morning, noon, evening) and write a 2-sentence description of the light. Note quality, direction, color temperature, and mood. Within weeks, you’ll see light with new eyes.
Exercise 2: One Subject, All Light
Photograph a single landscape scene in every type of light described in this article. Compare the results side by side. This exercise teaches you which subjects respond to which light.
Exercise 3: Prediction Practice
Before each shoot, write down what you predict the light will do based on weather forecasts and sky conditions. After the shoot, compare prediction to reality. This builds forecasting intuition.
Conclusion
Light is landscape photography’s essential ingredient. The most remote, dramatic location in the world looks ordinary under flat light, while a common scene—a field, a tree, a road—can become extraordinary when light cooperates.
The photographers who consistently produce stunning work aren’t luckier than you. They’ve learned to read light, predict it, and position themselves where it will be extraordinary.
Study light. Chase it relentlessly. The images will follow.
Put it to work — See how the light changes by season in the Lofoten and Arctic Norway guide and the Torres del Paine guide, or check any destination month by month in the Seasons Planner.